步骤:
一、内网穿透申请二级域名(有服务器和域名者可略过)
二、申请微信公众平台测试号(有已认证的微信服务号者可略过)
三、搭建 Spring Boot 2.0 项目实现获取openId
一、内网穿透:
因为要直接用内网本机开发调试,微信网页授权在回调时要访问本机,所以直接做个内网穿透,可以直接在外网访问到本机,做法如下:
1、登录 https://natapp.cn/ (我用的natapp.cn,你可以用其他类似的,个人感觉这个不错)
2、购买隧道:
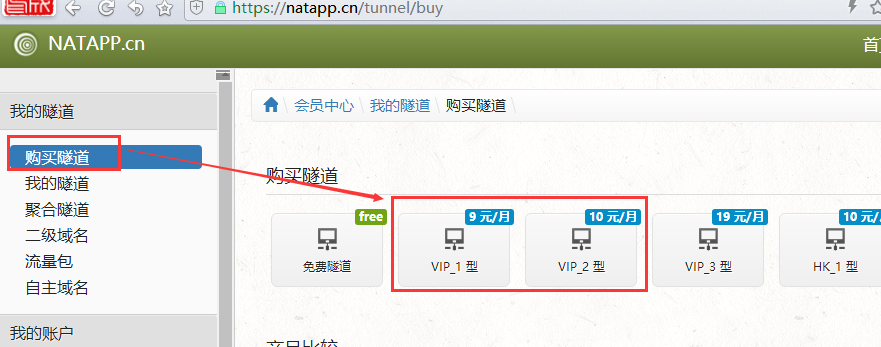
购买前需要认证一下,不要用免费的,因为免费的是随机分配域名的,每次都会变,之前VIP_1型是5元,现在涨到9元了,自行选择(官方9折优惠码709ABD4F),我买的是VIP_2型,购买后如下图:
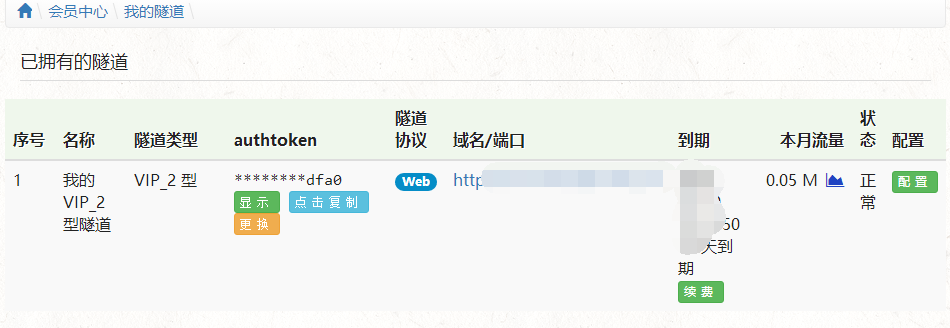
购买后使用方式:https://natapp.cn/article/natapp_newbie
使用后会得到natapp分配的网址,如 xxx.natapp.cn,这个地址就可以访问到开发本机。
二、申请微信公众平台测试号:
微信公众平台测试申请地址: https://mp.weixin.qq.com/debug/cgi-bin/sandbox?t=sandbox/login
打开后点击“登录”出来个二维码,直接微信扫一扫即可,登录后如下:
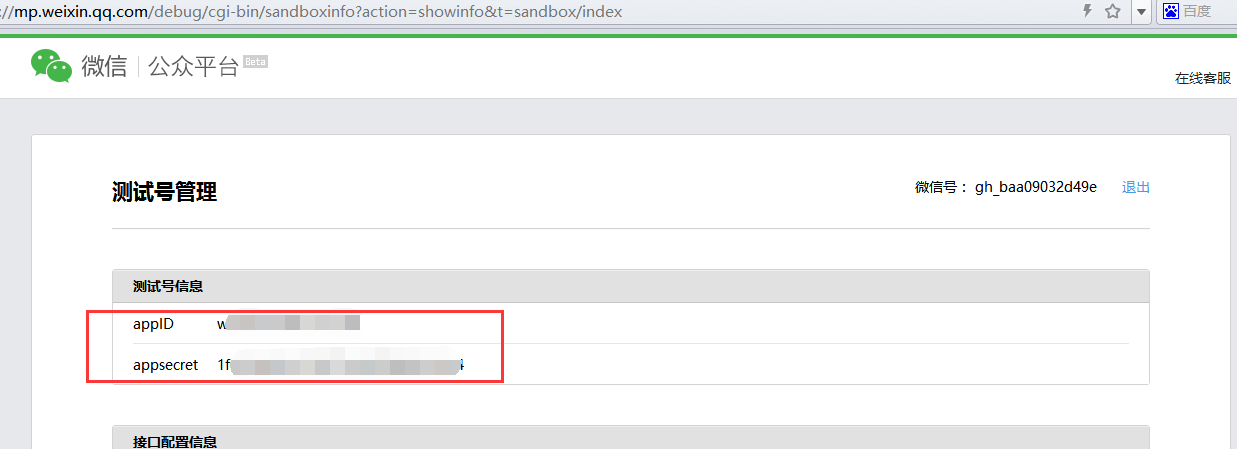
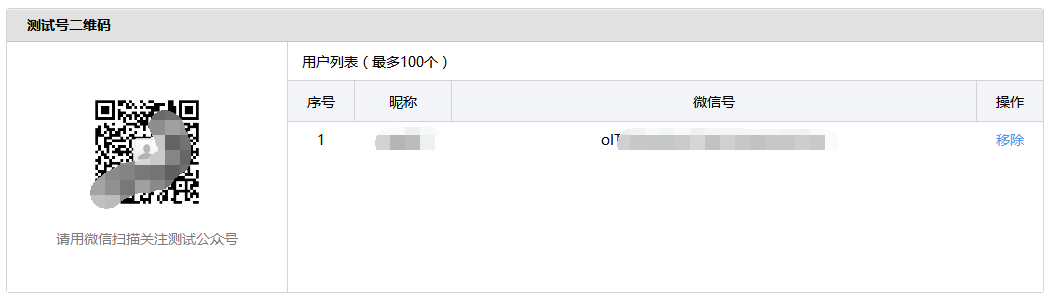
上面的appID 和 appsecret 就是后面我们要用到的。然后扫下面的测试号二维码关注:
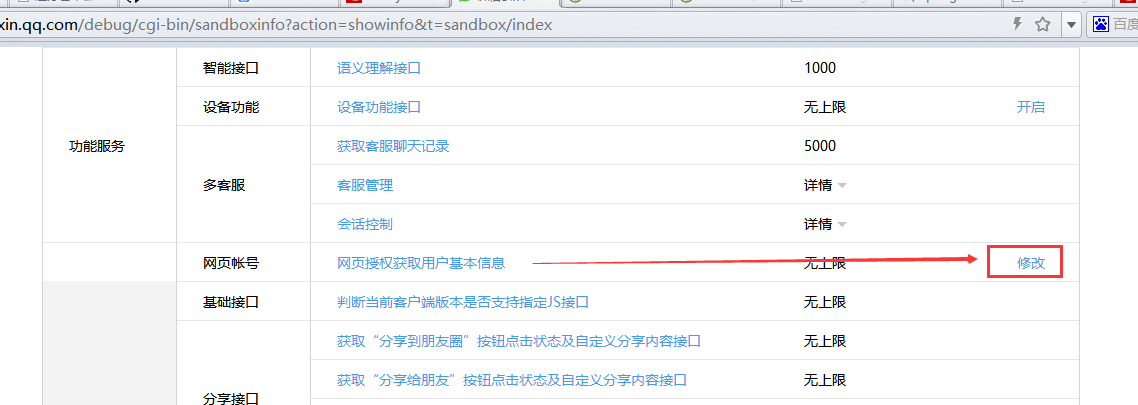
最后绑定授权回调页面域名即可:
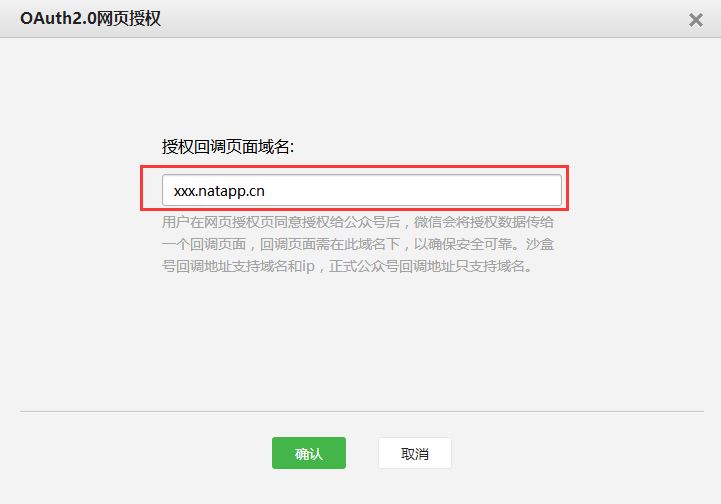
上面的 xxx.natapp.cn 填写你上面获取到的域名
三、搭建 Spring Boot 2.0 项目
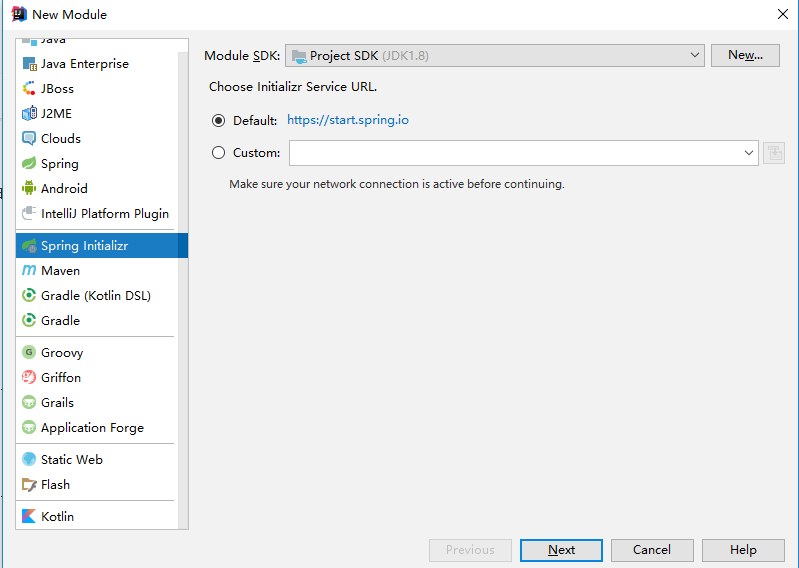
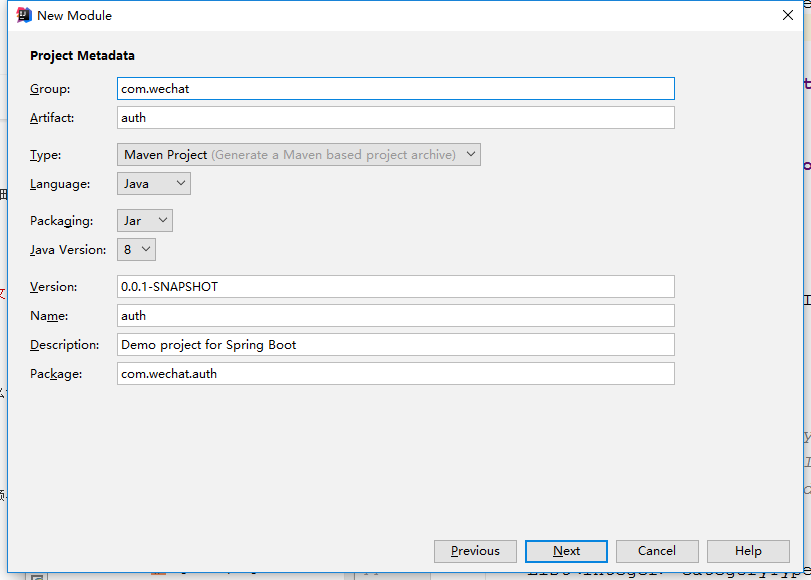
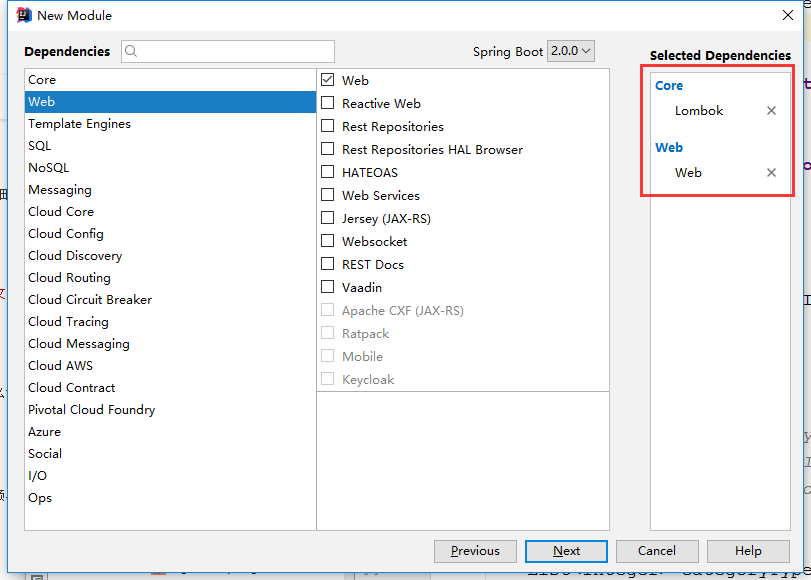
IDEA新建项目:
为方便,选了 Lombok
搭建后如下:
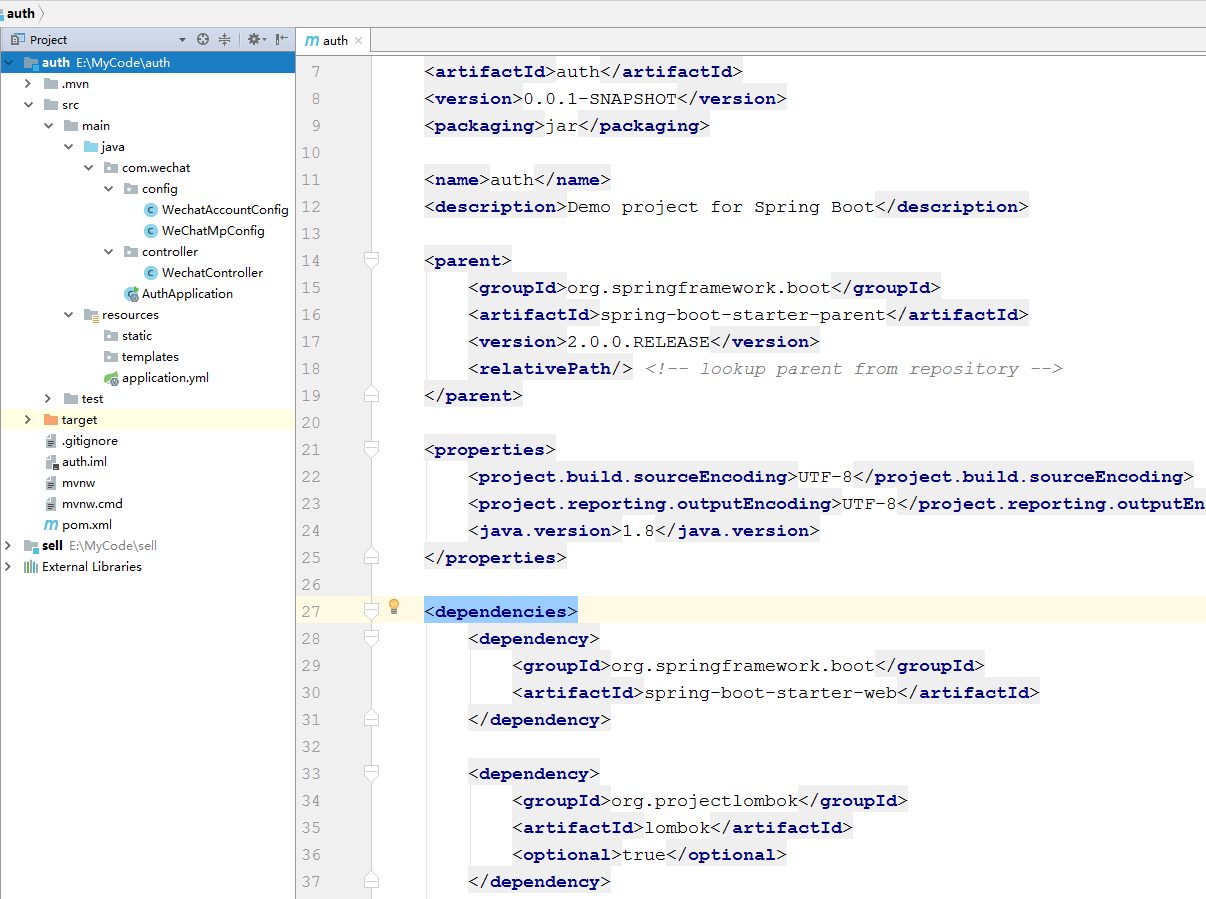
pom.xml (依赖了 weixin-java-mp 2.9.0)
<?xml version="1.0" encoding="UTF-8"?>
<project  xmlns_xsi="http://www.w3.org/2001/XMLSchema-instance"
	xsi_schemaLocation="http://maven.apache.org/POM/4.0.0 http://maven.apache.org/xsd/maven-4.0.0.xsd">
	<modelVersion>4.0.0</modelVersion>

	<groupId>com.wechat</groupId>
	<artifactId>auth</artifactId>
	<version>0.0.1-SNAPSHOT</version>
	<packaging>jar</packaging>

	<name>auth</name>
	<description>Demo project for Spring Boot</description>

	<parent>
		<groupId>org.springframework.boot</groupId>
		<artifactId>spring-boot-starter-parent</artifactId>
		<version>2.0.0.RELEASE</version>
		<relativePath/> <!-- lookup parent from repository -->
	</parent>

	<properties>
		<project.build.sourceEncoding>UTF-8</project.build.sourceEncoding>
		<project.reporting.outputEncoding>UTF-8</project.reporting.outputEncoding>
		<java.version>1.8</java.version>
	</properties>

	<dependencies>
		<dependency>
			<groupId>org.springframework.boot</groupId>
			<artifactId>spring-boot-starter-web</artifactId>
		</dependency>

        <dependency>
            <groupId>org.projectlombok</groupId>
            <artifactId>lombok</artifactId>
            <optional>true</optional>
        </dependency>

		<dependency>
			<groupId>com.github.binarywang</groupId>
			<artifactId>weixin-java-mp</artifactId>
			<version>2.9.0</version>
		</dependency>

		<dependency>
			<groupId>org.springframework.boot</groupId>
			<artifactId>spring-boot-starter-test</artifactId>
			<scope>test</scope>
		</dependency>
	</dependencies>

	<build>
		<plugins>
			<plugin>
				<groupId>org.springframework.boot</groupId>
				<artifactId>spring-boot-maven-plugin</artifactId>
			</plugin>
		</plugins>
	</build>

</project>
application.yml (原为 application.properties,直接改为 .yml,简洁方便)
里面两个值就填写上面获取到的 mpAppId 和 mpAppSecret
wechat:
  mpAppId: xxxxxxxxxxxx
  mpAppSecret: xxxxxxxxxxxxxxxxxxxxxxxxxxx
WechatAccountConfig.java (将上面的配置转换为Bean)
package com.wechat.config;

import lombok.Data;
import org.springframework.boot.context.properties.ConfigurationProperties;
import org.springframework.stereotype.Component;

@Data
@Component
@ConfigurationProperties(prefix = "wechat")
public class WechatAccountConfig {

    private String mpAppId;

    private String mpAppSecret;

}
WeChatMpConfig.java (配置WxMpService Bean)
package com.wechat.config;

import me.chanjar.weixin.mp.api.WxMpConfigStorage;
import me.chanjar.weixin.mp.api.WxMpInMemoryConfigStorage;
import me.chanjar.weixin.mp.api.WxMpService;
import me.chanjar.weixin.mp.api.impl.WxMpServiceImpl;
import org.springframework.beans.factory.annotation.Autowired;
import org.springframework.context.annotation.Bean;
import org.springframework.stereotype.Component;

@Component
public class WeChatMpConfig {

    @Autowired
    private WechatAccountConfig wechatAccountConfig;

    @Bean
    public WxMpService wxMpService(){
        WxMpService wxMpService = new WxMpServiceImpl();
        wxMpService.setWxMpConfigStorage(wxMpConfigStorage());
        return wxMpService;
    }

    @Bean
    public WxMpConfigStorage wxMpConfigStorage(){
        WxMpInMemoryConfigStorage wxMpConfigStorage = new WxMpInMemoryConfigStorage();
        wxMpConfigStorage.setAppId(wechatAccountConfig.getMpAppId());
        wxMpConfigStorage.setSecret(wechatAccountConfig.getMpAppSecret());
        return wxMpConfigStorage;
    }
}
WechatController.java (将xxx.natapp.cn改为用natapp获取到的域名)
package com.wechat.controller;

import lombok.extern.slf4j.Slf4j;
import me.chanjar.weixin.common.api.WxConsts;
import me.chanjar.weixin.common.exception.WxErrorException;
import me.chanjar.weixin.mp.api.WxMpService;
import me.chanjar.weixin.mp.bean.result.WxMpOAuth2AccessToken;
import org.springframework.beans.factory.annotation.Autowired;
import org.springframework.stereotype.Controller;
import org.springframework.web.bind.annotation.GetMapping;
import org.springframework.web.bind.annotation.RequestMapping;
import org.springframework.web.bind.annotation.RequestParam;

import java.net.URLEncoder;

@Controller
@RequestMapping("/wechat")
@Slf4j
public class WechatController {

    @Autowired
    private WxMpService wxMpService;

    @GetMapping("/authorize")
    public String authorize(@RequestParam("returnUrl") String returnUrl){
        String url = "http://xxx.natapp.cn/wechat/userInfo";
        String redirectURL = wxMpService.oauth2buildAuthorizationUrl(url, WxConsts.OAuth2Scope.SNSAPI_USERINFO, URLEncoder.encode(returnUrl));
        log.info("【微信网页授权】获取code,redirectURL={}", redirectURL);
        return "redirect:" + redirectURL;
    }

    @GetMapping("/userInfo")
    public String userInfo(@RequestParam("code") String code,
                         @RequestParam("state") String returnUrl) throws Exception {
        log.info("【微信网页授权】code={}", code);
        log.info("【微信网页授权】state={}", returnUrl);
        WxMpOAuth2AccessToken wxMpOAuth2AccessToken;
        try {
            wxMpOAuth2AccessToken = wxMpService.oauth2getAccessToken(code);
        } catch (WxErrorException e) {
            log.info("【微信网页授权】{}", e);
            throw new Exception(e.getError().getErrorMsg());
        }
        String openId = wxMpOAuth2AccessToken.getOpenId();
        log.info("【微信网页授权】openId={}", openId);
        return "redirect:" + returnUrl + "?openid=" + openId;
    }
}
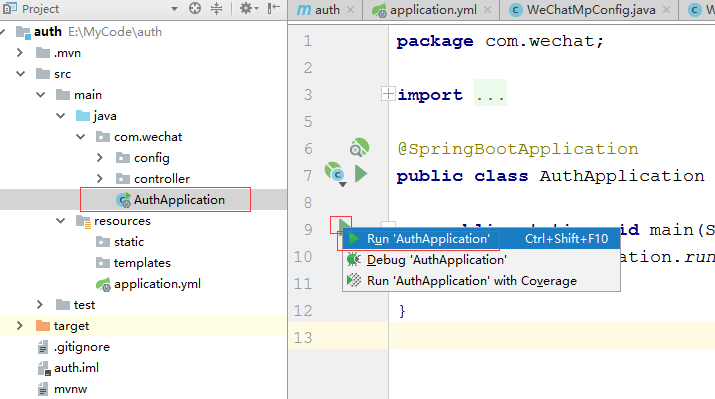
启动Spring Boot 工程:
用微信访问 xxx.natapp.cn/wechat/authorize?returnUrl=’回调的地址’ 即可看到控制台打印出了 openId,回调后操作自己的业务即可。
应要求放到Gitee上了:https://gitee.com/antma/SpringBootGetOpenId.git